How to get started on Twitch
Table of Contents
Twitch is one of the biggest live-streaming platforms worldwide, with over 275,000 daily active users in the UK alone. Becoming a streamer can be a fun way to make money, but getting started can be a little confusing.
That’s why we’ve compiled the best tips and tricks to getting started on Twitch.
- Create a Twitch account
- Set up your channel
- Choose your broadcasting software
- Go live
How to get started on Twitch
Before you start, it’s important to be honest with yourself about your motivations. Knowing why you are pursuing streaming can help you keep going when it becomes more challenging.
Create a Twitch account
Whether you want to be a Twitch streamer to make some money, or just for fun, the start-up process is the same.
The first step to getting yourself set up on Twitch is to create your account. You can do this by visiting the Twitch homepage, and clicking on the “Sign Up” button in the top right corner.
You’ll need to choose and fill in your:
- Username
- Password
- Date of birth
- Mobile phone number
Since your profile is public-facing, think of it like your brand. Your username and avatar are key pieces of your brand identity, and it’s how users will get to know you.
While your username and profile picture can be changed later, people familiar with your channel may get confused, so think about it carefully.
We recommend setting up Two-Factor Authentication (2FA) for your account. 2FA makes your account more secure, and can make recovery easier if you forget your login information.
Set up your channel
While this can be done at any stage, it’s usually better to set up your channel before trying to stream. Customising your channel is key to developing a unique persona and standing out from the crowd.
Setting up your profile and channel consists of your:
- Profile picture (the picture used to recognise your channel)
- Channel banner (size must be 1200×480 pixels)
- Profile biography (a short description about you)
- Profile accent colour (The accent colour of your account page)
- Social media links (links to your external social media pages)
There are other settings you can customise, but these only become available once you reach Affiliate or Partner status.
While you can upload any image you want to your channel profile, successful creators generally follow an unwritten rule. Use some form of stylised image that represents your stream.
This could be exaggerating one of your features, like Beardageddon’s bearded skull avatar, or a channel logo like Summit1g.
Choose your broadcasting software
Before you’re able to stream on Twitch, you need to download a broadcasting software. The software essentially copies your chosen screen and sends it to Twitch.
There are multiple different software options for you to choose from, and each has its own pros and cons. We’ve listed three of the most popular below to help you make your choice.
Twitch Studio
Twitch Studio is a great starter option for anyone who wants to trial streaming before they fully commit themselves. It doesn’t have as many of the tools or features as other software, but it allows some basic customisation of your stream.
Since it’s first-party software (made by the same company), you only have to download it and log into your account. Once that’s done, you’re connected and can start streaming straight away.
Once you’re used to the streaming process, we recommend changing to one of the other software to create a more professional look.
OBS Studio
OBS Studio is one of the most popular software choices for new streamers. It’s available on all operating systems (Windows, Mac OS, Linux), so no matter what your set-up is like, you can use it.
- Open-source coding — any developer can use the code to create cool and interesting plug-ins and effects.
- Low CPU usage — streaming programs can put a strain on your computer, so using programs with less usage can help your PC run more smoothly.
- Multi-platform — as well as being compatible with Windows, Mac, and Linux, OBS streams to the most popular streaming platforms.
OBS is extremely user-friendly, but it does lack chat control features and custom overlays. There are ways for you to add those features, but it’s a little more complicated than the other options.
Streamlabs
Streamlabs is a great piece of broadcasting software. It’s incredibly easy to set up, and boasts a few useful qualities that make streaming much more fun.
- Built-in chat — instead of having to use your browser, you can monitor and use the chat feature from inside Streamlabs.
- Customisation — Themes and overlays are the bread and butter of making your stream look professional. Streamlabs offers a wide variety for free.
- Quick test — it’s easy to forget if everything is set up properly before your stream starts, so the test function is great at stopping any streaming issues.
Unfortunately, Streamlabs does use a lot more of the CPU than OBS. This can mean your computer can run slowly while using the program and playing a game.
Go live
Now that everything is set up, you can begin your first stream! You’ll have to give your stream a title, category, and a tag — when you’ve done that you’re good to go!
Title
The title is a friendly intro to get people interested in your stream. If you were playing Sea of Thieves, for example, your title could be “Come sail with me!”.
Category
The category you choose should just be the game (or type of content) you’re going to stream. If you just want to chat, there’s a category for that too.
Tags
Choosing the right tags can help people find your channel. With thousands of active streams at any given time, you need to give potential viewers a way to find you instead of someone else.
Tags can include the game’s genre and your playstyle, or anything else a viewer could expect on your channel.
While Twitch originally began as a live-streaming service focused on video games, it’s expanded to include loads of different genres.
Your next steps to Twitch streaming
Now you know how to get started on Twitch, it’s time to grow your audience. This can be done both on and off the platform, and we recommend reading our handy guide ‘How to Network on Twitch’.
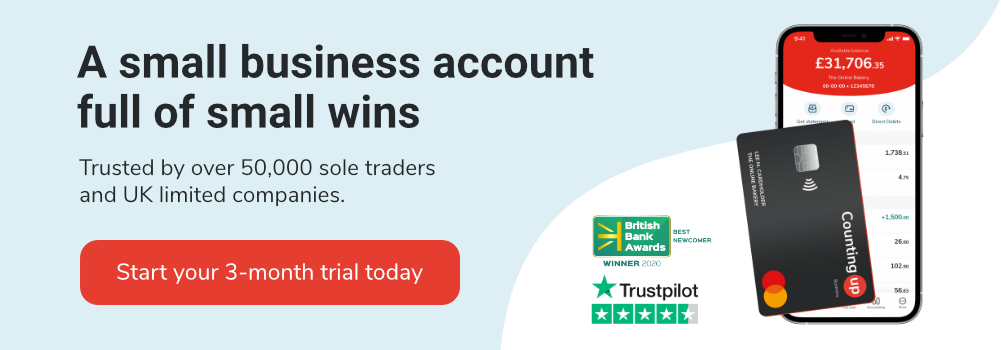
If you intend to use Twitch to make money, you may want to consider using a combination of accounting software and a business current account. The Countingup app is a great example, and can help you keep track of your finances.
Get started for free today.