How to invoice a client for freelance work
Table of Contents
To succeed as a freelancer, you need to get paid for your work. It doesn’t matter if it’s one freelance gig a month or a full-time occupation –– you still need to send out an invoice to get clients to pay what they owe you.
You clients may not remember to pay you until they get an invoice in their hand. Therefore, you must know how to write one that looks professional and includes all the necessary information.
This guide will tell you how to invoice a client for freelance work, covering the following:
- Things to consider when invoicing
- How to create an invoice for freelance work
- Sending the invoice to your client
Things to consider when invoicing for freelance work
There are a few aspects of freelance invoices that you need to keep in mind when creating one, as listed below.
Your point of contact
As a freelancer, you’ll have a point of contact whom you submit your work to. This person will likely not have anything to do with the company’s finances. Instead, they forward your invoice to their accounts department when you send it.
It may be a good idea to ask for a contact in the accounts department that you can send your invoices to directly. This way, you know they’ve received it, and you can also bypass payment delays since the invoice goes directly to the correct department.
When to send it
Send your invoice as soon as possible after you finish your work. The sooner you send your invoice, the faster you’ll get paid. If it’s a big job, you may want to ask for some of the money upfront and stagger your invoices for when you finish certain parts of the project.
Don’t delay your invoices, since late payments can have a negative impact on your cash flow (the money flowing in and out of your business). We explain more about cash flow in this guide.
Information to include
According to government rules, invoices should always include:
- Your company name and address
- The invoice number and the date
- How you would like to be paid
- Bank details
- The amount to be paid
- Total cost
- Payment terms
- Company name and business number
- Business VAT number (if applicable)
How to create an invoice for freelance work
Follow the steps below to create an invoice to send to your clients:
Step 1: Make it professional
Your invoice needs to look professional and list your business information. Be sure to include your business name (even if it’s just your own name), address, company phone number, and email address.
Include your logo if you have one, and pick a colour scheme that suits your industry and professional personality.
You should also make sure it’s clear that the document is an invoice. Simply adding the word ‘invoice’ at the top of your document is usually enough to make it stand out to your client.
Step 2: Unique identification number
You need a reference number to keep track of your invoices and make sure you don’t create any duplicates. This reference is called a unique identification number (UIN) and it is a HMRC requirement.
You can use numbers that gradually increase as you send out more invoices and add letters in front of the number to separate your different clients.
Say you have a client named John Smith, and the invoice you’re sending to him is his seventh. In that case, the UIN could be ‘JS07’ or ‘JS-07’.
The important thing is choosing a numbering system that works for you and staying consistent to avoid confusion.
Step 3: Client’s information
Next, you need to make sure you’ve listed your client’s information. Include the name of the business (if applicable), and your contact’s name, address, phone number and email.
Step 4: Specify payment terms
For freelancers, it’s common to use a 30-day billing cycle. This means that if you send your invoice on June 1st, the payment is due by July 1st.
You should also include payment methods you accept, such as debit or credit card, PayPal, Klarna, or bank transfer. If you charge late fees, you need to make it clear when and how you will charge them.
Discuss your payment terms with your clients before they sign on or make the purchase to avoid any surprises or confusion.
Step 5: Services provided
Include a detailed list organised by item type. Descriptions don’t have to be very long –– just detailed enough for your clients to know what they’re paying for.
The easiest way to organise the products or services might be in a table that includes:
- Services provided or products sold
- Date
- Quantity or hours
- Rate or price
- Total amount
- If applicable, include the VAT amount too.
Note that VAT invoices need more information. You can find out more about VAT here.
Step 6: Additional notes
Including a short thank you note at the end of your invoice adds a personal and friendly touch that could help you stand out from other impersonal invoices your client might receive.
Sending an invoice to your client
Sending a PDF-version of your invoice as an email attachment is the simplest way to invoice your clients. Include a brief description of your services and invoice in the subject line and email text.
Different clients or sectors might have specific procedures for processing invoices. It’s a good idea to check with them before committing to any work to decide on a method that works for you both. You could follow up with a phone call to make sure they received it and nudge them if they delay the payment.
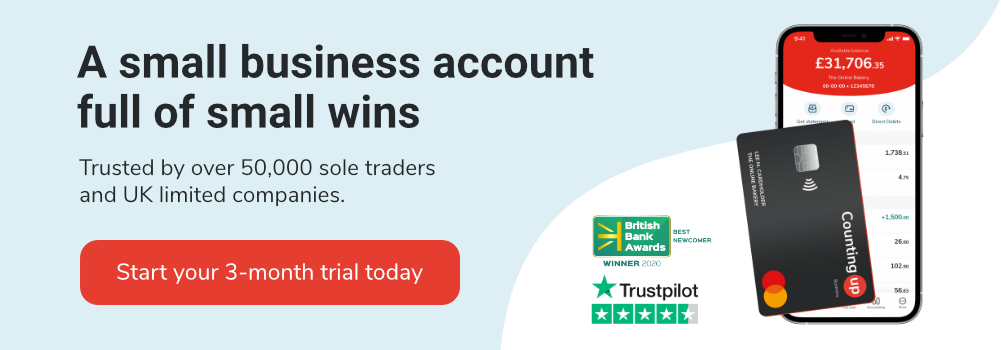
The Countingup app enables you to create PDF invoices in seconds, and notifies you when invoices are paid and automatically reconciles them, to save you the accounting admin. This could highlight your leftover invoices for you, so you never miss a payment again.
Further reading on invoicing:
How to write an invoice for freelance work
Create, send, and manage invoices with Countingup
Countingup is the business account and accounting software in one app. It automates time consuming bookkeeping admin so that you can focus on running your business. With instant invoicing, automatic expense categorisation and cash flow insights, you can confidently keep on top of your business finances everyday. Find out more here, or download the Countingup app from the App Store or Google Play Store and sign up for free.